Playing with clay

In the middle of somewhat (very) busy life I’m having now, I managed to craft up a few bits of clay (I’m positive there must be a phrasal verb ‘to craft up, right?).

Here there are, along with a mini photo tutorial on hows.

DIY kafelki okragle1 DSCN9945 DSCN9973

I love my newly bought silicon moulds 🙂

kafelki prostokatne1 DSCN9986 DSCN0001 DSCN0005

Materials used; air drying clay (though I believe for bigger pieces I would stick the thing into an oven for 30 min with some hardening in temp. varnish), acrylics, bitumen by maimeri, twinkling H2Os. Treated at the end with two sprays of polyurethane varnish.

Ikea mirrors come in threes!

Tags

, , , , , , , ,

I’ve been a bit preoccupied lately and not posting much, but there’s a very good excuse up my sleeve… or should I say… a little bundle of joy I keep close to me at all times! 🙂

So, 3-in-1 baby/embossing/mixed media decoupage :):)

steampunk mirror1a

steampunk mirror col.

I absolutely love this guy’s work and his sense of humour. It’s Edward Binkley and his evil fairies… plus a bit of MP transfers and MP dimensional magic medallions.


DSCN9680-003

DSCN9692-001

DSCN9687-003

DSCN9663-003

And a bit of golden and over the top medallions splash 🙂

DSCN9544

DSCN9561

DSCN9562

Mixed media large key cabinet

For this project I tried out Tim Holtz distress embossing powder, walnut stain over the key embossed image that was in the end sanded with 180 grade sand paper to reveal the key pattern.

key cabinet1 key cabinet2 key cabinet3

The inside of the frame is a proper mix of various techniques, including pressing a cake decorating stencil onto a layer of not so dry acrylic paint and splashing the ‘sandwich’ with Tim Holtz alcohol inks. With the last layer of acrylic varnish I sprinkled some mica onto the ‘oranges’. The part with the three pewter hooks was created by pressing actual bronze keys into a thick layer of tile grout. When it dried, it was covered with Americana quadricone gold and then, when dried again, sanded slightly to reveal the key pattern. Must say I like the brown/resist embossing frames best!

key cabinet7 key cabinet6 key cabinet5 key cabinet4

Peacock tissue box

Tags

, , , , ,

I like the idea of having a paper napkin glued to a piece of card stock that in turn gets to be cut into pieces, sort of like a mosaic pieces that you may arrange on top of that something you are about to alter. This time I played a bit with a napkin with a beautiful peacock motif and after many hours of cutting it down to a homemade moroccan pattern, embossing, gilding and colouring with inka gold wax by Viva Decor it was ready to be arranged on top of a wooden tissue box.

chustecznik dla wioli detal

I also used that wonderful waxy paste from Viva to decorate the sides via a stencil. As for the bottom, I quickly stamped the turquoise background with silicone stamp and a versamark embossing stamp pad and brushed three shades of mica powder on.

chustecznik dla Wioli3

chustecznik dla Wioli2

chustecznik dla Wioli1

ps. Could somebody bring back the sun, please? Taking pictures that would show all the intricate details and, most importantly, true colours, is almost next to impossible 🙂

Doilies and resist stamping with a bit of metal embossing

Tags

, , , ,

Hi all,

This time I was playing with distress stains and alcohol inks as well as resist stamping with clear embossing. I always wanted to use all of the stamps from the doilies set I have been using far too little.

doillies caly

There is also a strip of metal sheet embossed and coloured with alcohol inks.

doillies detal3

doillies detal1doillies detal2

doillies detall4

It was supposed to be mixed media book a la Andy Skinner…

Tags

, , , , , , , , , , ,

I bet most of you Crafters have heard about Andy Skinner, but if you are not familiar with his pieces, make sure you visit this blog! I took the online classes for the Book of Ruination, downloaded plenty of video material and with the hopes (and a clearly set goal!) to achieve a similar result I got down to work. I soon realised though that my book would float into a different direction… I love the alien skin effect, and thanks to his awesome online tutorial I am now able to recreate this look, yet this particular crafting venture had to have somewhat a different ending:

alien skin mdf book1

alien skin mdf book 1aDSCN1492alien skin mdf book2alien skin mdf book4alien skin mdf book5alien skin mdf book8alien skin mdf book6alien skin mdf book7

A bit folky decoupage tray

Tags

, , , , , ,

Hello all!

Just a quickie before we set off for a bit of holiday…. a whole month visiting my family and friends in Poland. Can’t wait.

so… lots of techniques, let’s start with the sides then:

(hot embossing over background distressed with a bit of shabby chic (-ing :)) plus alcohol inks and distress stains)

DSCN0395

taca folk detal 3

DSCN0384

I used fine, white opaque embossing powder and a part of a stamp from a lovely Indian paisley set by Viva Decor. Similar stamps from the very same set used here.

For the top I inked a floral background stamp with a shade of off white and autumn leaf, stamped four times, this over a navy blue acrylic background (I know, I know… looks black :))

The rest is quite obvious; it’s paper and some quilling strips of paper painted gold for the ‘framing’ bit. Still needs lots of varnishing so I am still to post the final pic. of a glass like surface over some paper cut outs 🙂

DSCN0362

DSCN0364

Till next time and thanks for stopping by!

d.

Fridge magnes to experiment on…

Tags

, , , , , , ,

… with inking, distressing, applying inka gold and mica powder. These little wooden blanks are great to experiment on!

Two cake decorating stencils used as a basis for playing with almost everything I’ve got on hand :):

magnes kwiatki

sticky back canvas used as a ‘base coat’

DSCN0157

DSCN0152

magnes zolty caly

DSCN0097

magnes czerwony detal1

DSCN0124magnes czerwony full

Stamping with mica in bold colours

Tags

, , , , ,

I think I am in love with mica stamping; this is the easiest and most gratifying (perhaps, because it’s  the easiest technique:)) trick you can adapt to enhance your crafting projects of all sorts. All you need is an embossing ink, mine is from Versamark, some mica powder and a stamp of your choice. For this project I used some stamps from this truly stunning India Paisley set by Viva Decor.

For this little lamp I grabbed some time ago when shopping at Asda I chose a combination of green, turquoise, gold and pink. I think it worked just fine 🙂

DSCN0072

lampa bombaj slonie

DSCN0079

I suspected that hot embossing on a piece of linen lampshade with a plastic backing would not be such a great idea, but I had to try anyway 🙂

lampa bombaj gora

I especially love the combination of green and gold; must remember to try and come up with some others project based on that colour scheme.

DSCN0074

Note to myself; next time cover the cord with some masking tape before painting 🙂

Mod Podge transfer – ferns and wild mushrooms decoupage box

Tags

, , , , , , ,

Hello again!

I do always struggle what to call my latest creations. I started my crafting journey more or less three years ago with simple decoupage projects. A bit of paint, napkin cut outs, sealed with varnish, voila! a finished piece. Then, of course, I got hungry for more techniques and tricks. So I’m always itching to try a combination of decorating solutions for one piece. And then I need to come up with a fairly brief title that would give you a rough idea what are you looking at. Not possible. At least not this time 🙂

So, here it is:

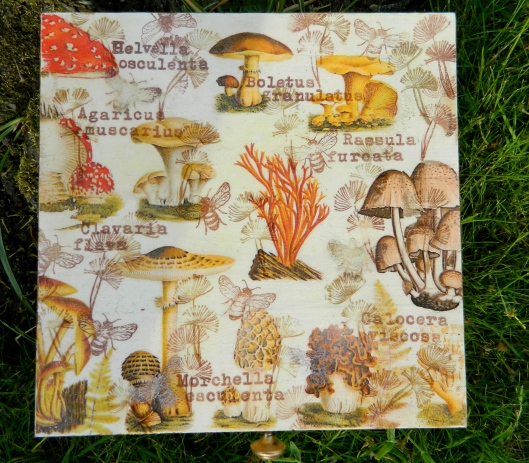
Mod Podge (matte plaid) transfer of laser print outs of mushrooms and ferns;

grzyby final

DSCN9542

Latin names, flies and dandelions stamped with Versamark pine cone ink;

DSCN9512

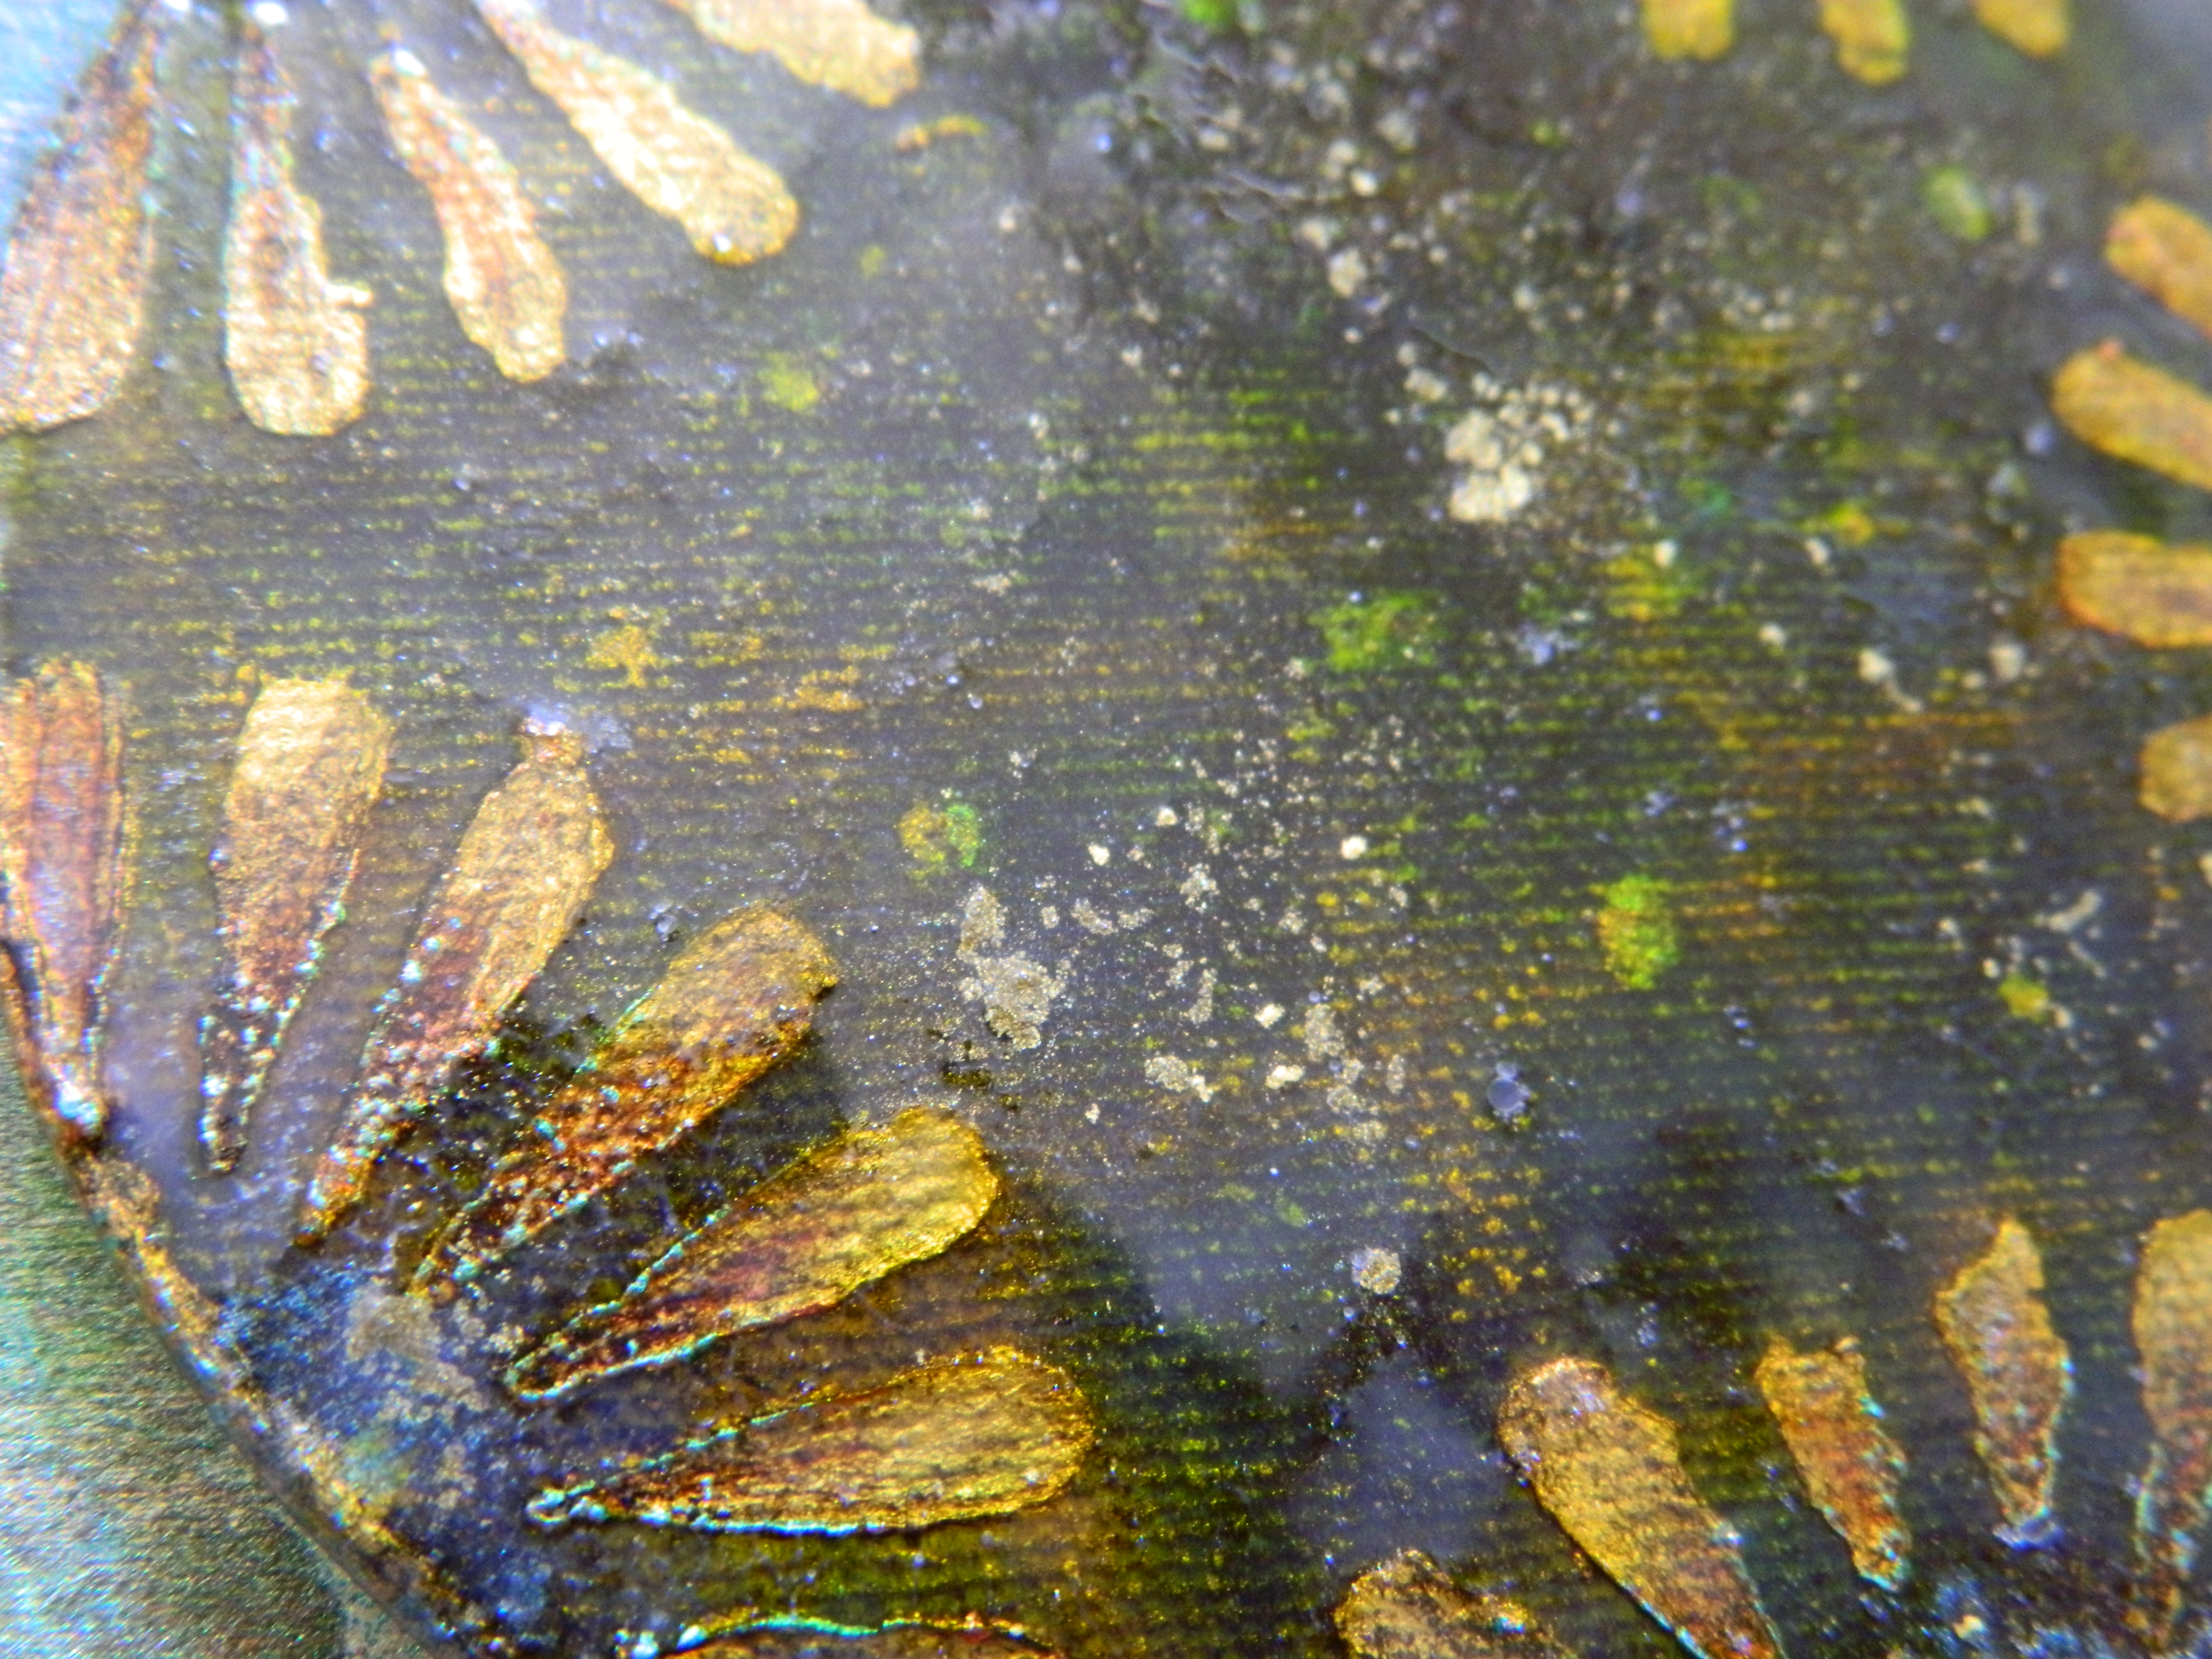
I tried embossing a couple of flies with a clear embossing powder, later buffed with some silver rub ons;

grzyby mucha szara

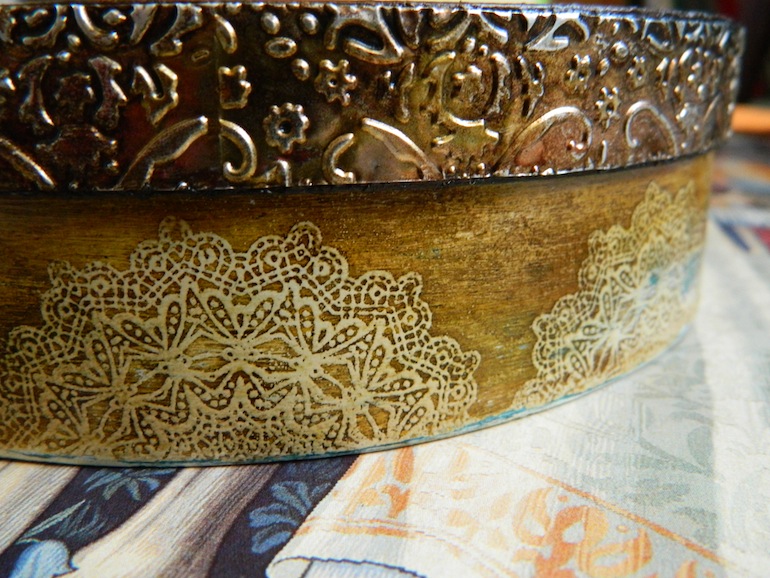
Cold embossing, hot embossing, Ranger Tim Holtz Adirondack Alcohol Inks, sand paper (I love this technique, it’s pure magic :));

DSCN9537

Again, MP transfers and embossed dandelions;

DSCN9511

grzyby emboss4

I must say that MP is the easiest and the quickest transfer method for laser print outs I have ever tried. You just need to be careful when removing the backing paper from the edges of more intricate motifs.