So, this is the first one. And perhaps not a last one, who knows… it’s only ‘perhaps’… 🙂
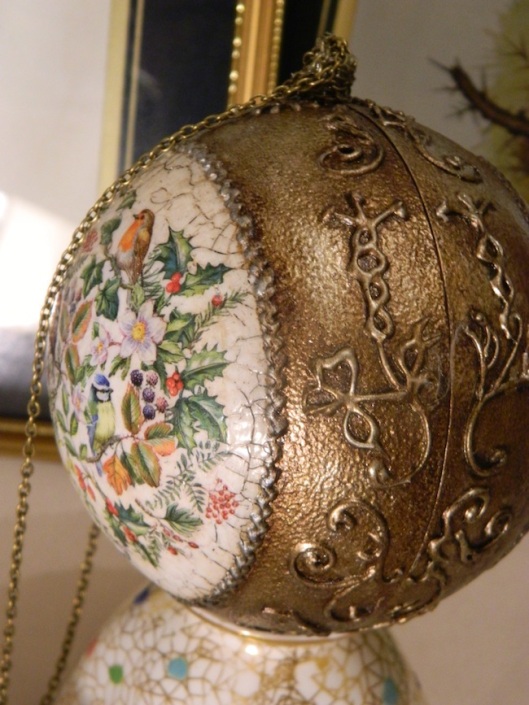
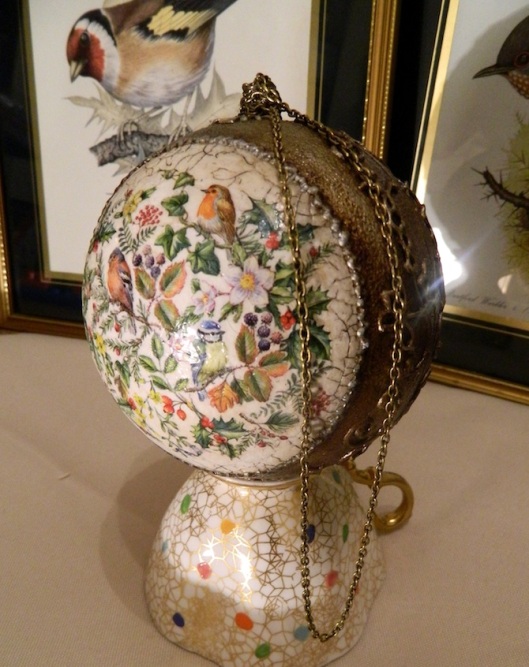
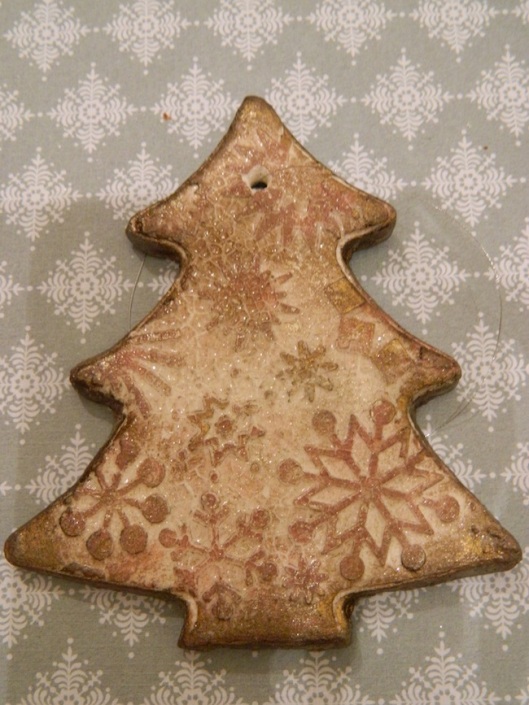
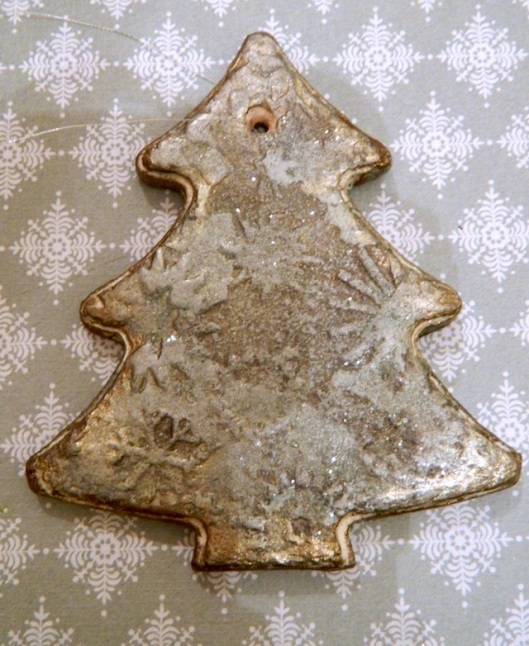
To decorate this 12 cm clear plastic bubble, I cut out a couple of dozens of tiny foliage and bird motifs from a thick and shiny Christmas cards. To do the trick of gluing it all down I needed to make the paper the thinnest possible. Back of the paper peels off quite easily, but the difficult part is to be extra careful when soaking your piece, face down, in a small amount of water, on, say, small kitchen plate. It takes several minutes to clear all the paper fluff so that you’re left with an almost see through thin film. A sort of an image transfer, but with no medium, just water, your fingers and paper. To break up the initial layer of the card I used this rough side of a kitchen sponge. Next, all those pieces (well.. those that survived peeling off process :)) were glued down with a tiny amount of white PVA glue, a basic crafty one. Just a bit to hold it in place. When dry, the whole ‘picture’ was covered with a quite thick layer of the same basic glue (more than basic – the beloved by many MP would act the same). And then came a surprise; I finished it off with my usual glassy varnish for a shiny loo only to find little cracks appearing one by one. So, here’s good news; Mod Podge plus acrylic varnish (both thick layers) will produce a fine crackle effect.
I decided to fill in the cracks (bitumen by Maimeri) only partially, otherwise the fine detail would be covered by a darkish grid of curved lines. I also used Pebeo relief paint in silver and a peel offs for outlining the shapes and finished the middle with DecoArt metallic in bronze, antique gold patina by Pentart and liquid bitumen by Maimeri. To protect the cracks I sprayed the bubble with polyurethane varnish (outside!) a few times.
I must admit I quite like it 🙂