Lately I hardly even try to resist using stencils, mainly brass ones, for projects that mix 3d ornaments with napkin/paper decoupage. The ornaments are very easy to produce, no fine expertise needed, just some materials a bit of free time on one’s hands…
The following mini tutorial focuses on such ornaments in their making. And bear in mind that this is the very first step-by-step I’ve done, so please be gentle 🙂
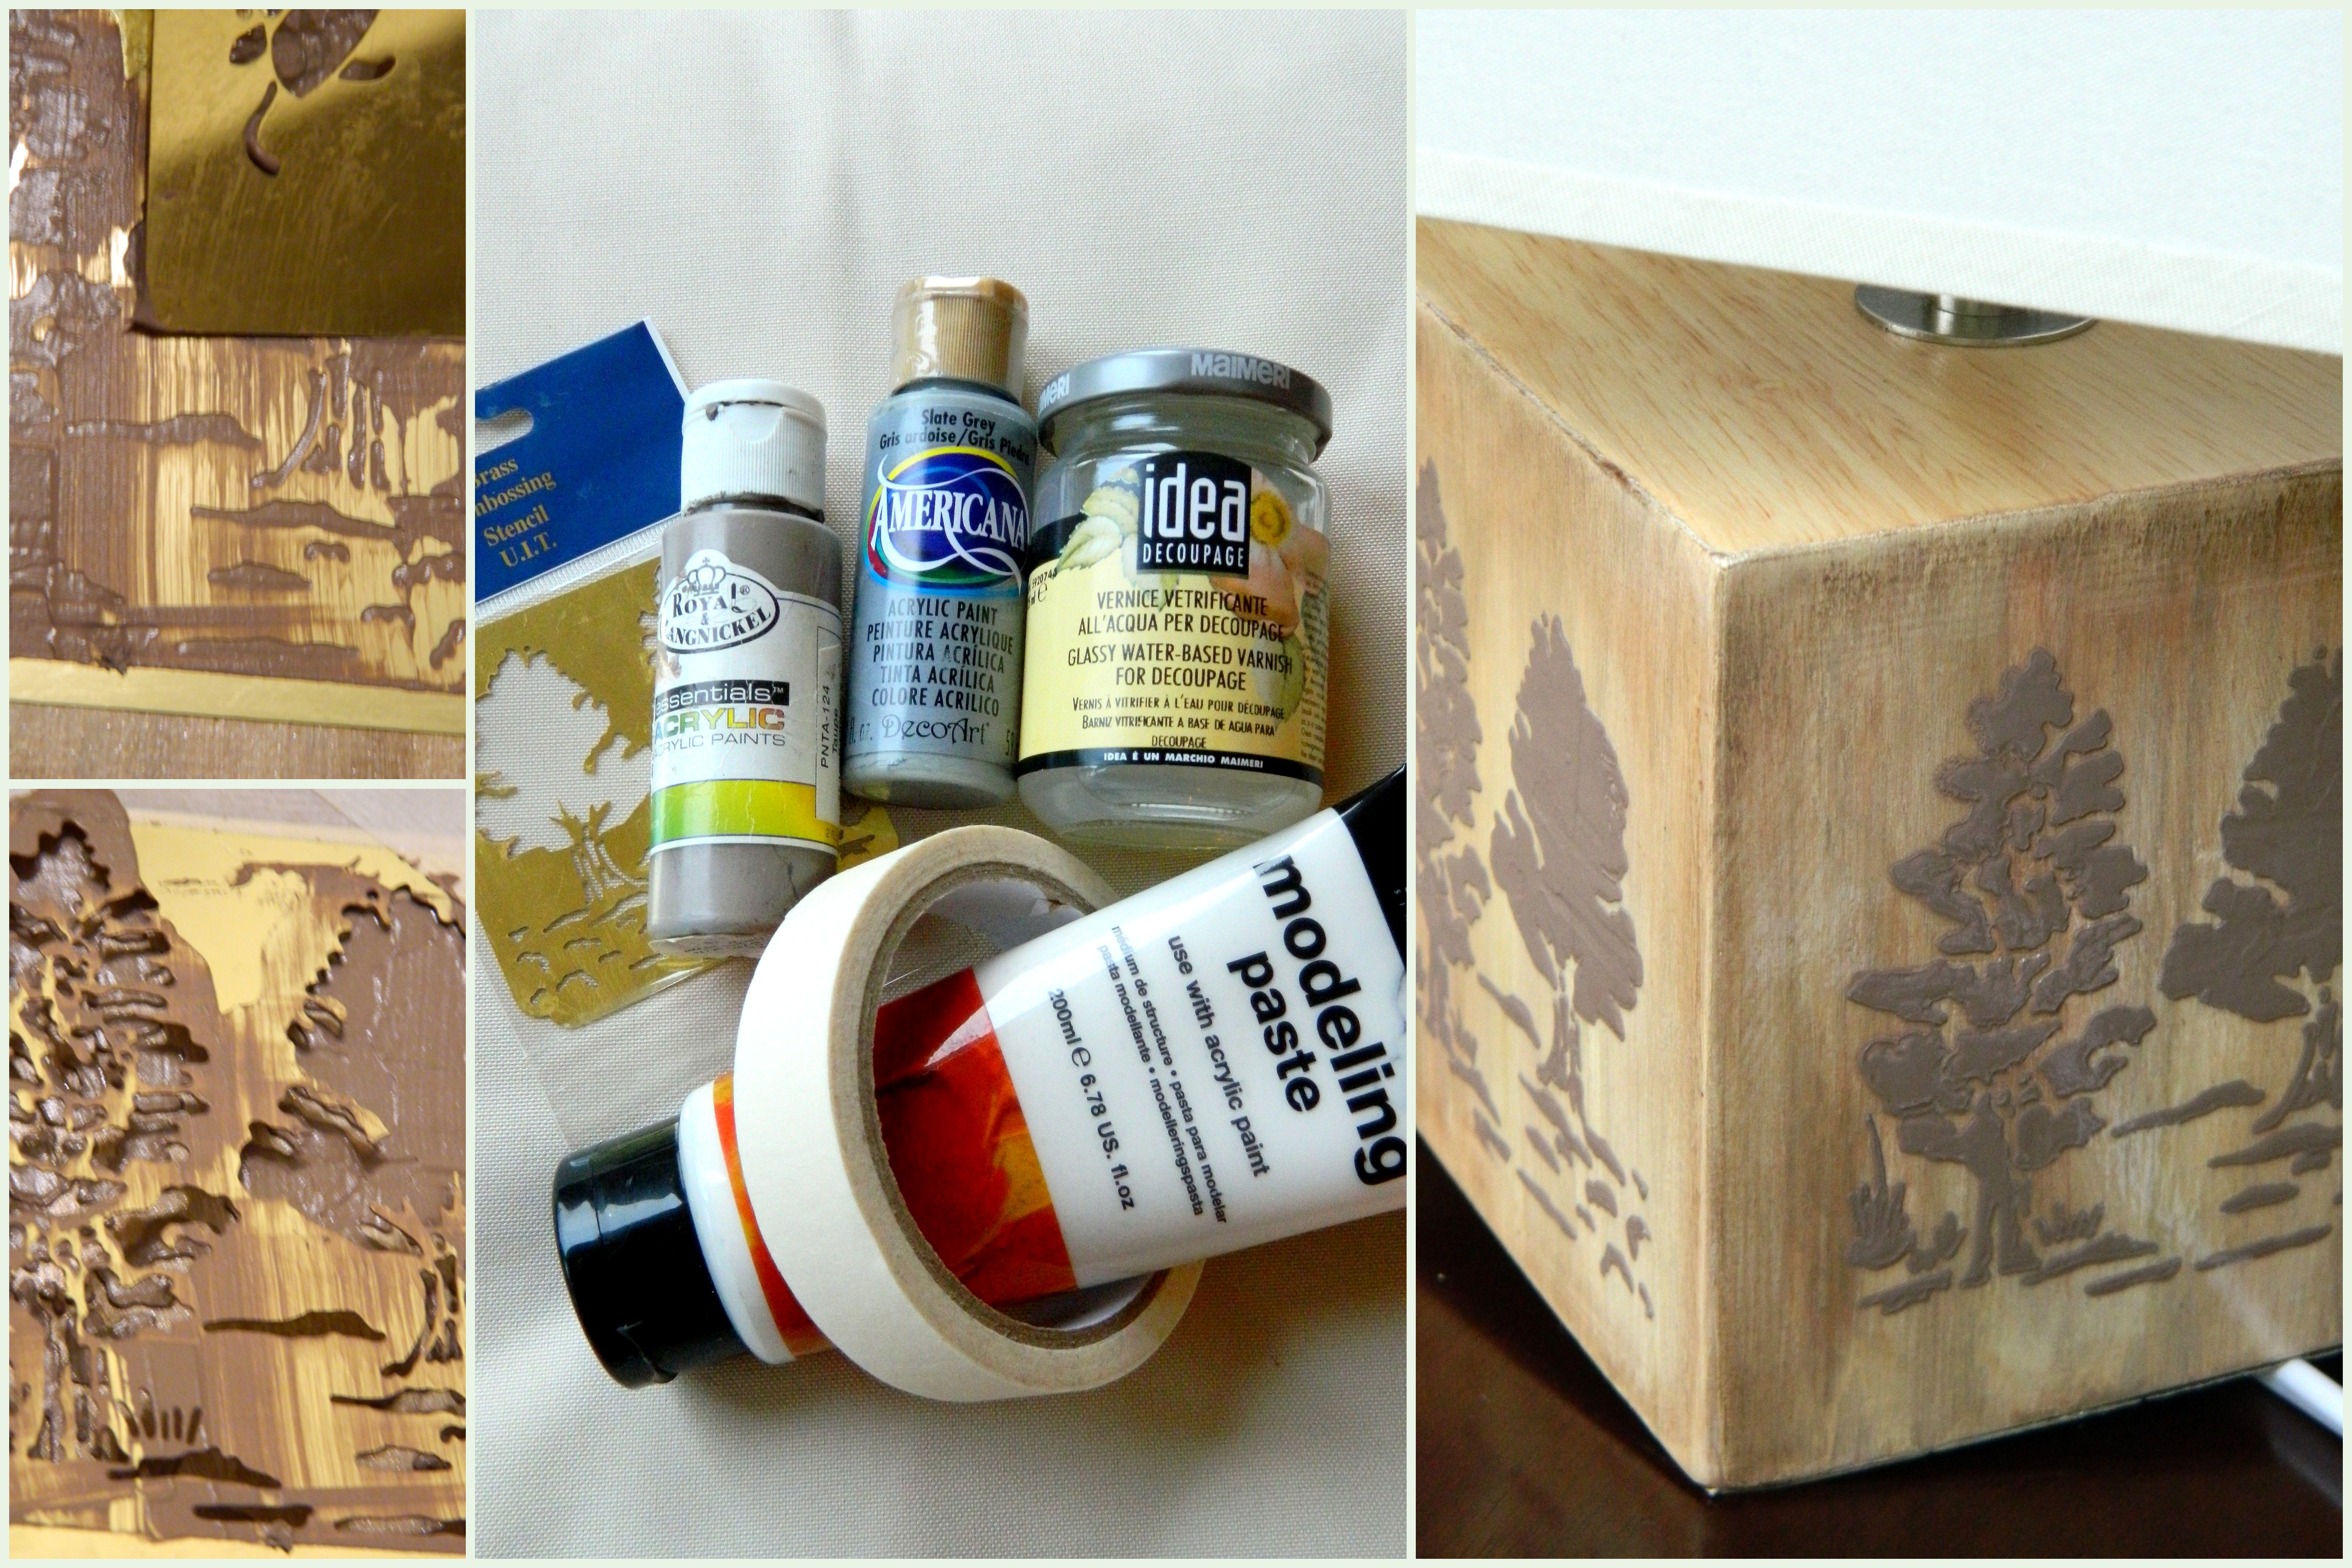
Brass stencil are perfect for making 3d ornaments. With a great variety of motifs, intricately cut out in a thin, yet rigid, metal sheet, they are very easy to work with. Just remember to be careful when removing any traces of modelling paste after you’re done; you don’t want to have any dents that would prevent them from laying perfectly flat on a decorated surface.
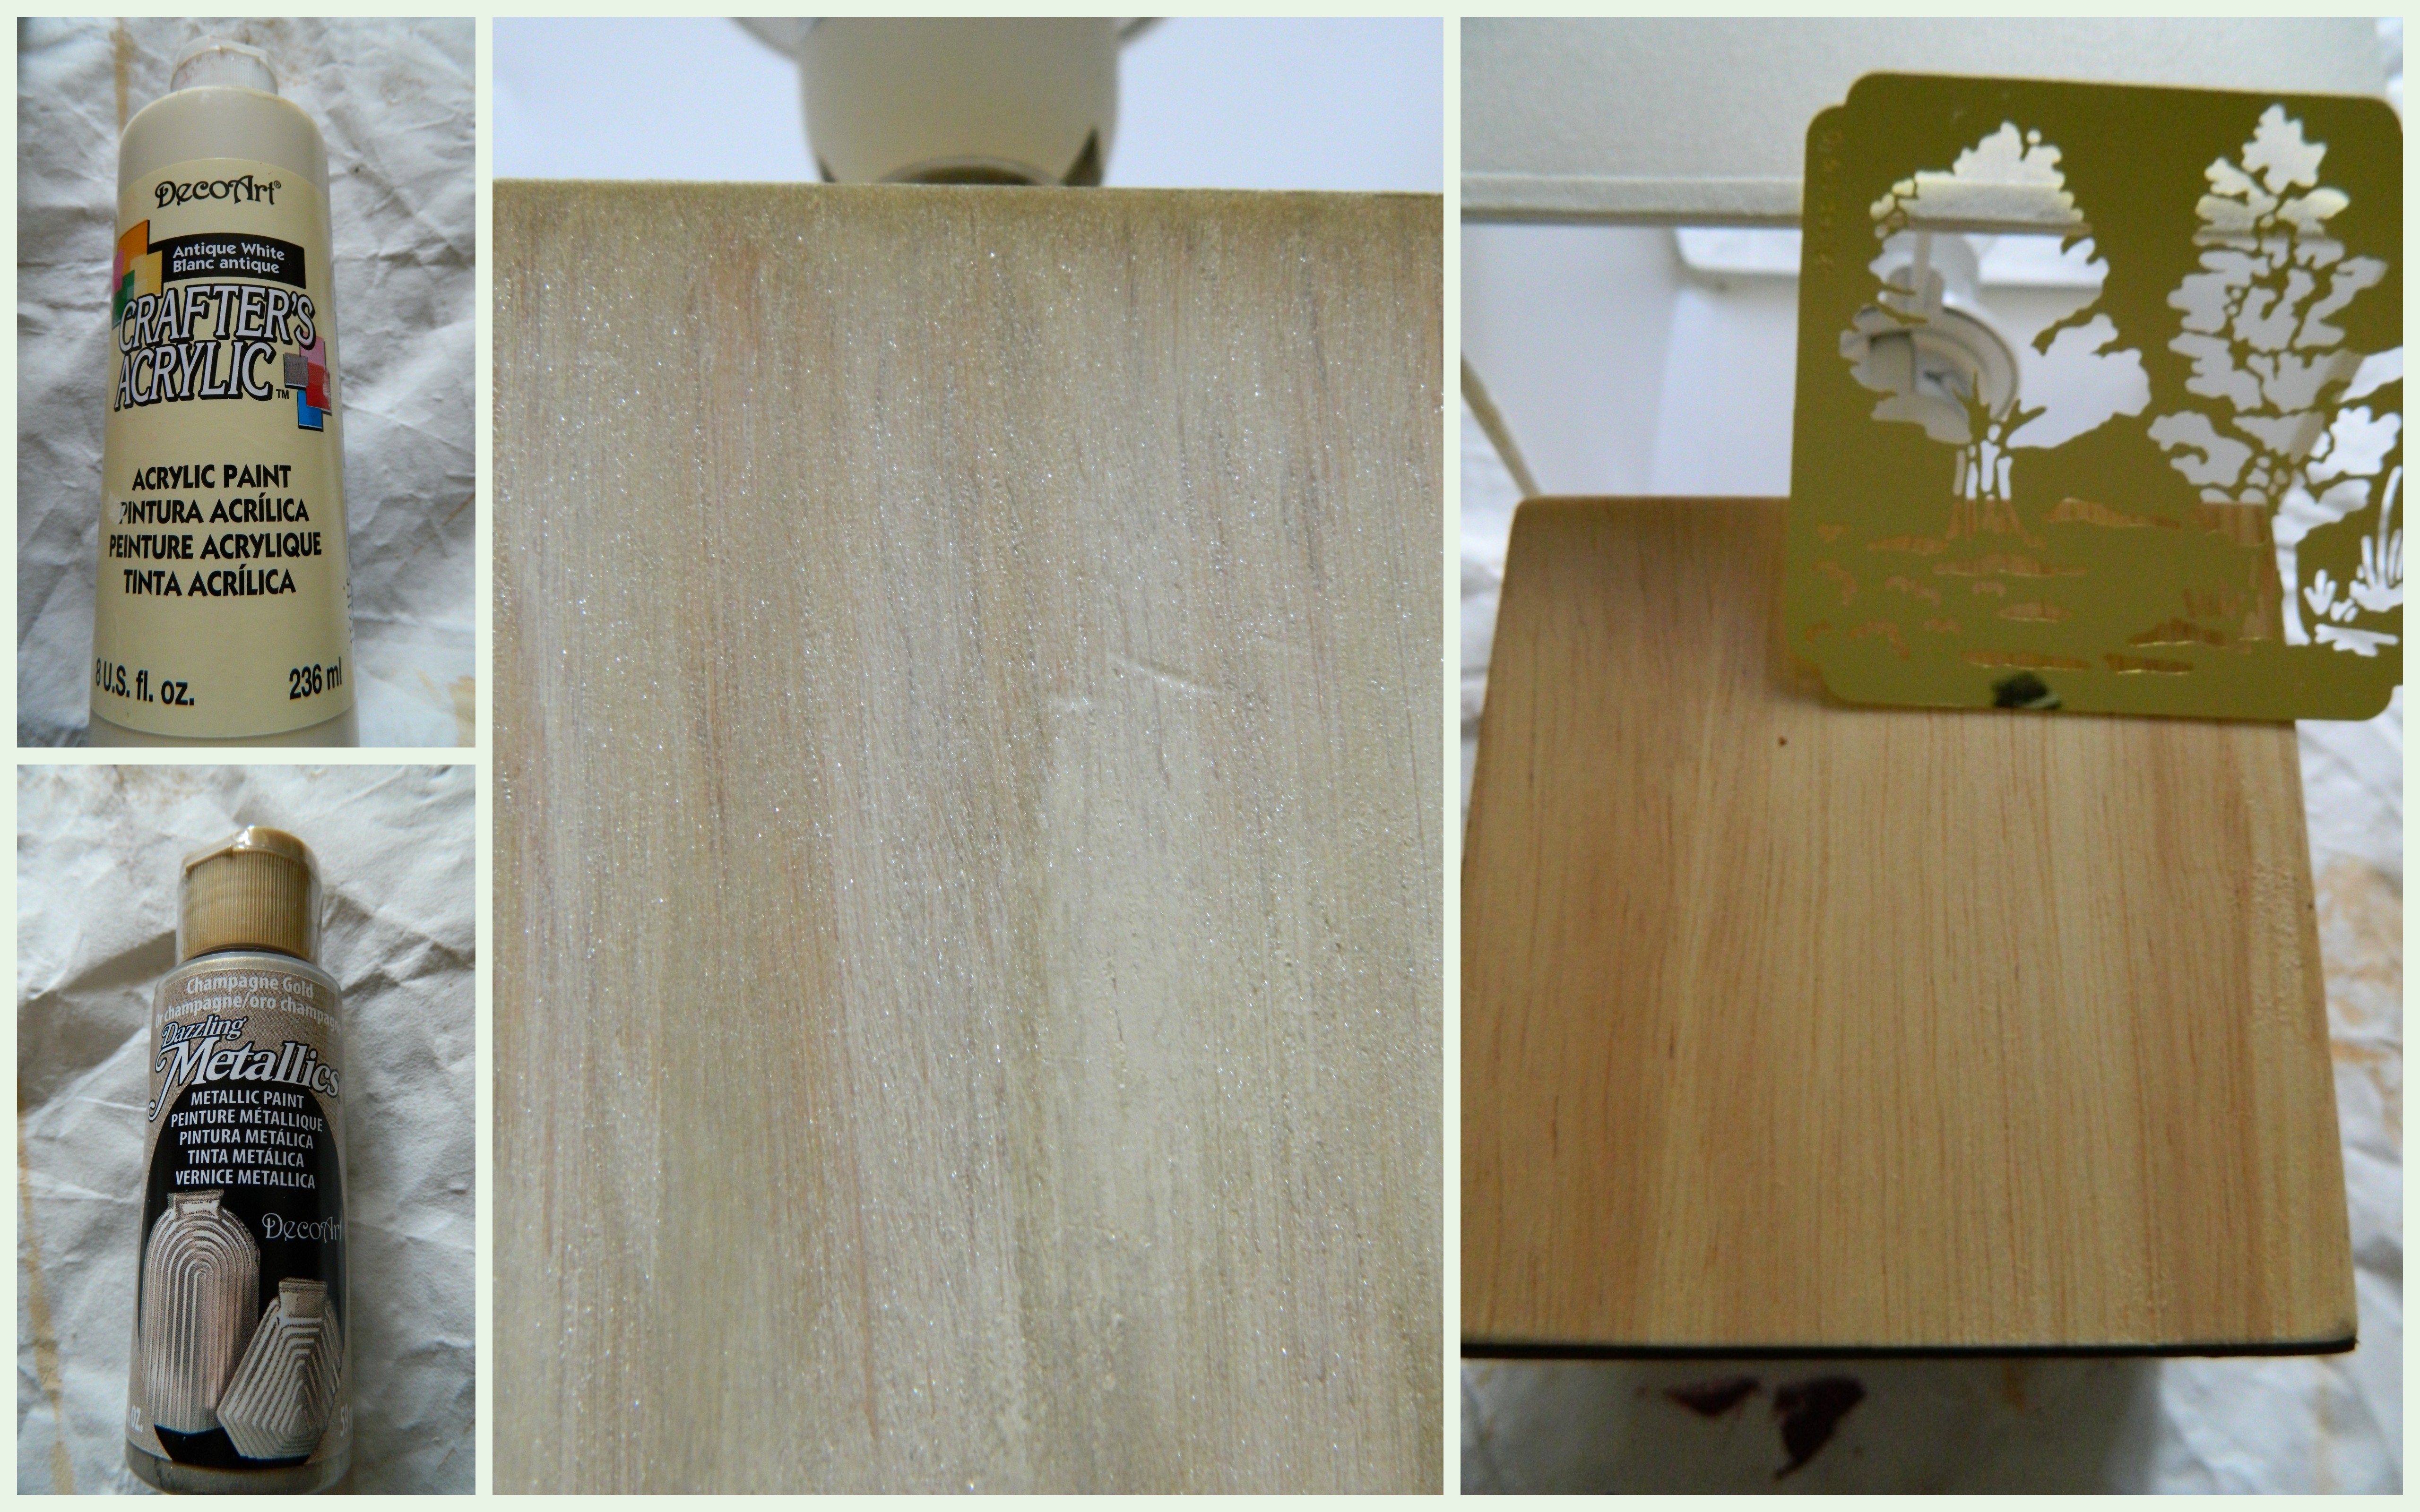
For this little project I used a nightstand lamp with a cube shaped wooden base. Working with two shades of acrylic paint (antique white, metallic champagne gold) I created a fairly light, almost monochromatic, background using a make up sponge and upward strokes. I never use brushes for painting or should I say – for applying paint. To avoid visible brush strokes try sponge brushes, make up sponges, your own fingers or a paper kitchen towel.

Use masking tape to hold your stencils in place. Sometimes you want to use only a part of the design, e.g. a part of a floral ornament. Use small pieces of a masking tape to cover the part of the stencil you don’t want to use. It is crucial that the stencil lays flat on the decorated surface, otherwise you risk modelling paste running underneath and ruining the effect of sharp edges. I used several modelling pastes/structure gels/mediums so far, they all work fine. Use only a small amount of paint to mix with the paste; it still changes its colour without being too diluted. And don’t overdo with the amount; a couple of table spoons of paste and a few drops of colour (or drops of different colours) are enough to create several ornaments. I apply the mixture with my fingers. Using a light, tapping motion cover the entire motif and then scrap the excess paste away with e.g. a ruler. I simply use a different stencil to do that. It’s enough to peel off one stripe of the masking tape and gently lift up the stencil. Be extra careful not to shift the stencil at this stage to keep the image untouched. Leave for at least 12 hours to dry and then cover with a layer (or several layers – depending on the effect you’re after) of acrylic varnish for protection.


If you’ve got any question, please feel free to ask!